You’ve probably seen 1,000,012 articles about Black Friday deals already, so we promise to keep this one short and sweet. You want the Behemoth goods, and we’ve got the Behemoth-sized deals.
Let’s start with what’s cookin’ in our merch store:

From November 27th through December 2nd, merch in the Behemoth Store will be 25% off for a Cyber Turkey Sale!* Well, except for Pit People Figurines — just because those will be a whopping 50% off instead!
Be sure to use code “SSGRAVYBOAT” at checkout to take full advantage of these deals.
If you’re looking to experience the wonderful world of digital media instead (aka, our video games) you can also enjoy discounts on our library of games! Let’s start with Steam…
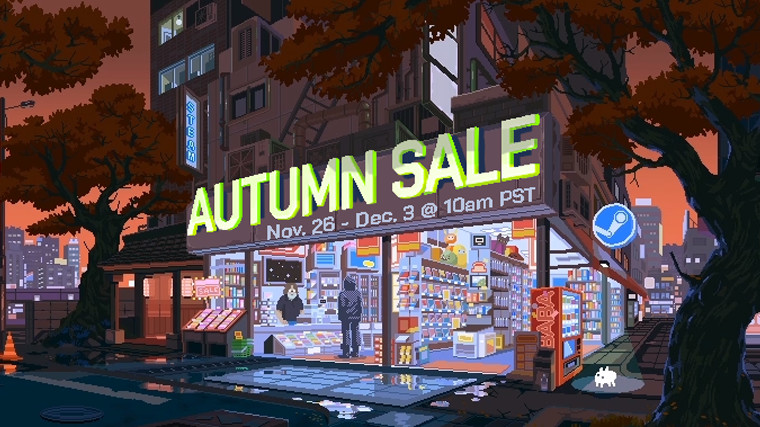
The Steam Autumn Sale is on now and runs through December 3rd at 10 AM PT. If you’ve been paying attention to all of the recent Steam sales, you could probably guess the deals: Castle Crashers and BattleBlock Theater will be discounted at 80% off, and Pit People will be 40% off.

But we can’t be stopped — as you might already know, the PlayStation Store Black Friday Unmissable Deals sale is also happening (and it’s a mouthful)! This means that Castle Crashers Remastered (North and South America region edition) is on sale for 40% off in the PlayStation Store up through December 3rd.
Happy holidays, and we hope you enjoy your behemoth-Behemoth shopping spree!
*Some exclusions may apply! Be sure to double-check your cart at checkout.