
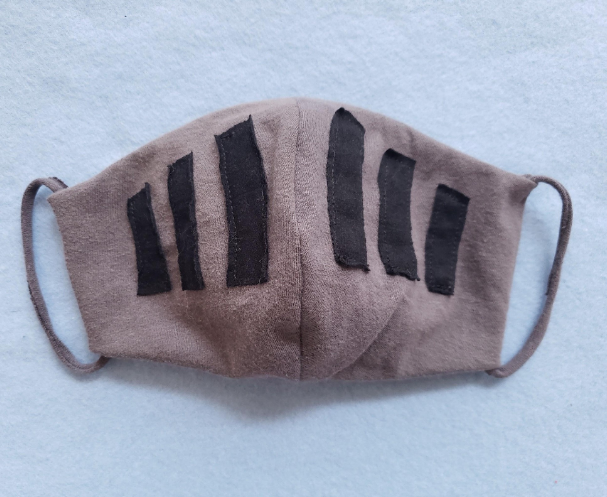
Our second DIY mask is designed for those who are feeling particularly… evil. It’s the Necromancer! The Necromasker! Er… the Necromancer Mask!
Trace pattern below, gather your materials, and follow the instructions to make your own face covering!
Materials:
– Solid colored t-shirt/fabric for main mask
– Black or dark t-shirt/fabric for grille
– Needle and thread
– Pins
– Paper pattern (Get that below!)
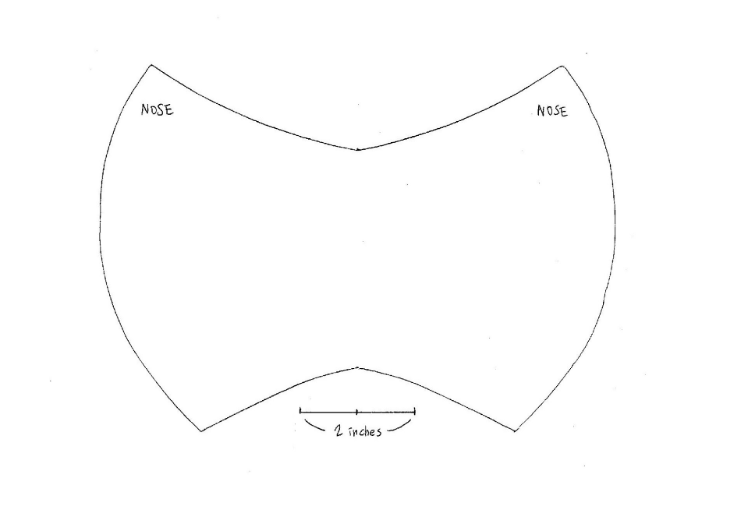
This pattern uses a scale of 2 inches for an adult medium mask, but you can adjust the size as needed.
Zoom in on the pattern on your computer monitor so that the reference line on the pattern measures 2 inches long. Then, put a piece of paper on the monitor and trace the pattern. Be sure not to press too hard and damage the screen! I also recommend you to write which side is up on the pattern for easy reference.
Now we’re ready to get Necromancin’.
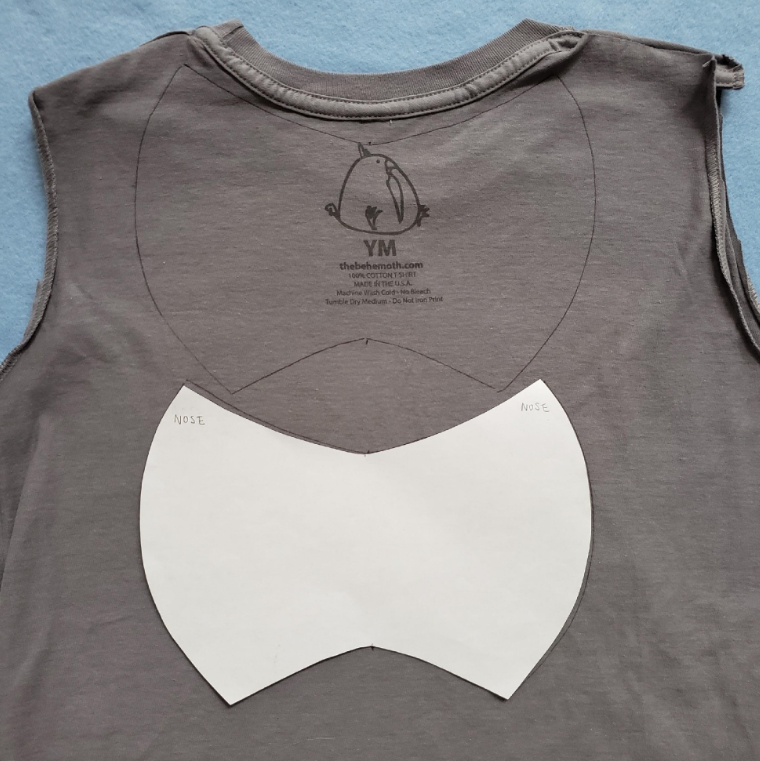
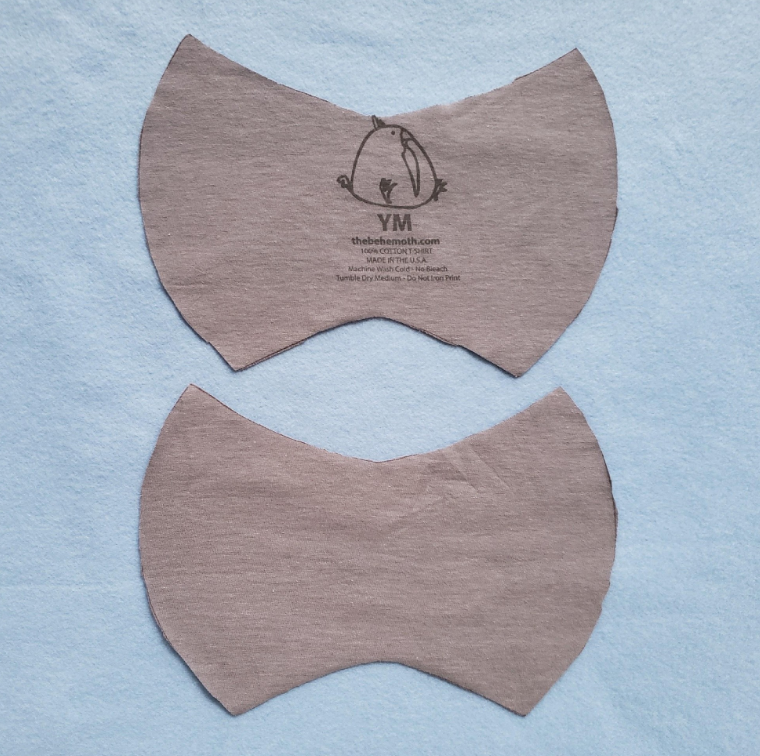
1. Trace the main mask pattern onto a solid colored t-shirt and cut TWO pieces. (I used an old shirt I got from the Behemoth, but you can use any shirt, of course!)
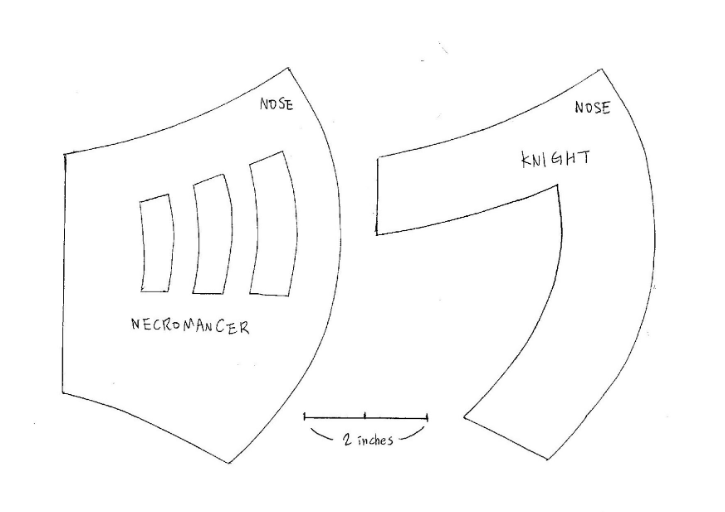
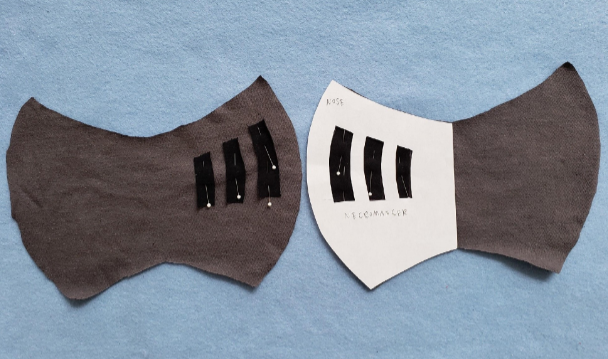
2. Use the other pattern to cut pieces of black/darker colored fabric for the grille — 3 for each side.

3. Put the darker pieces on the *right sides of the fabric using the pattern for the grille as a guide and pin them down.
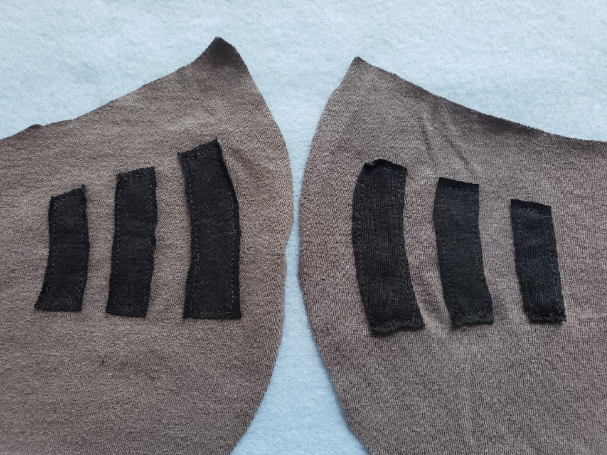
4. Sew the darker pieces onto the main fabric.
4. Put the *right sides together, sew them ¼ inch away from the edge, leaving an opening on one side.
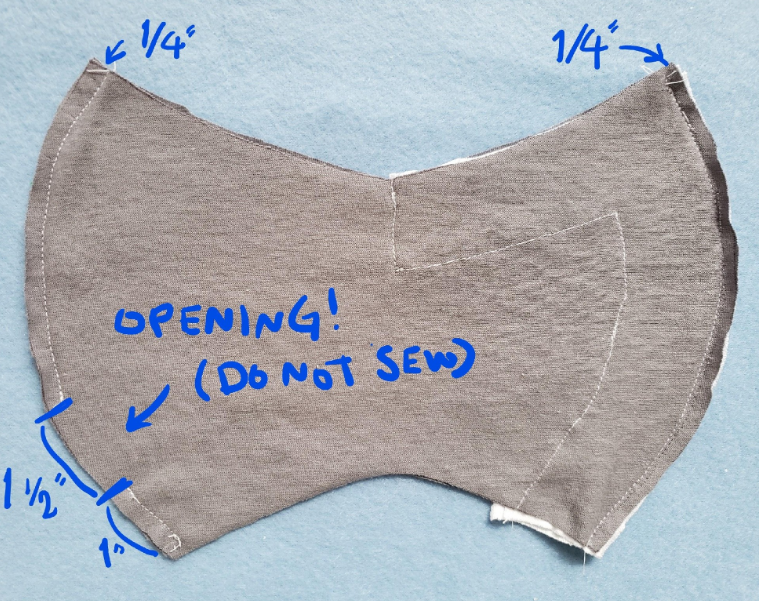
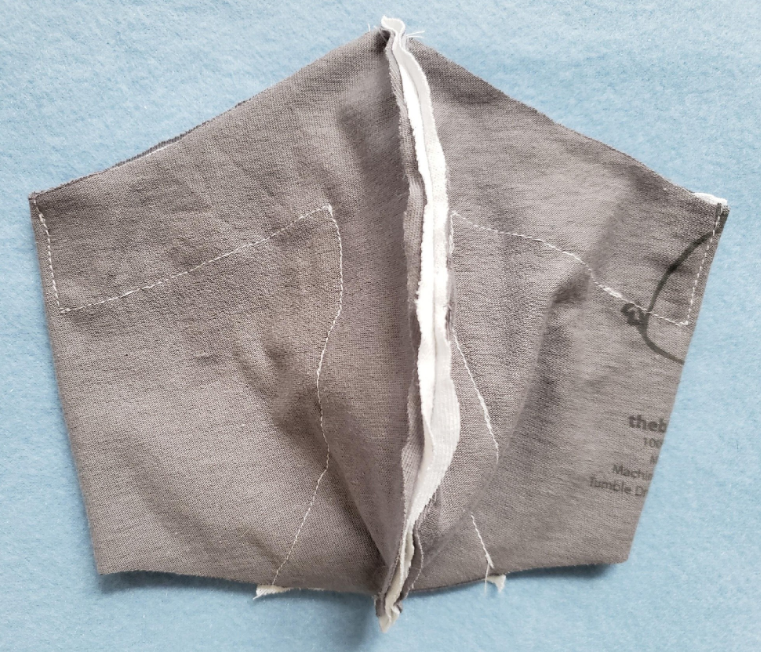
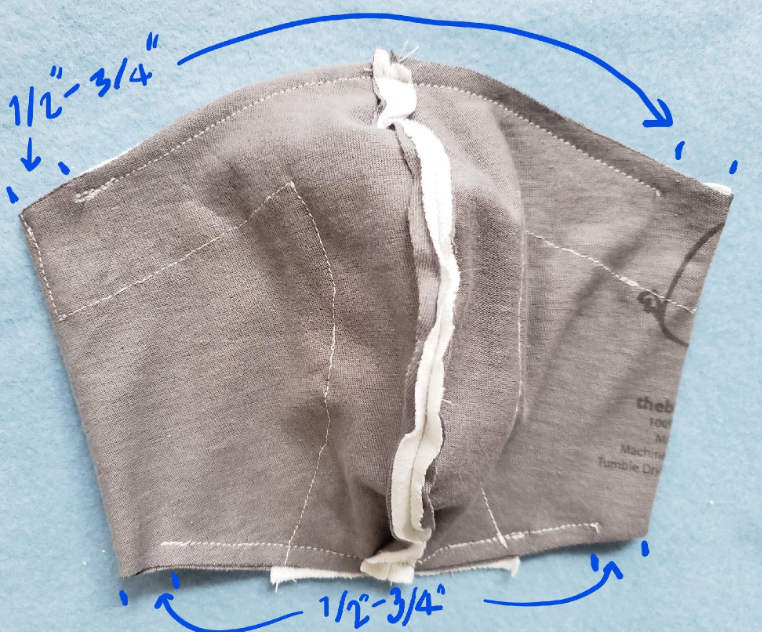
5. Open the pieces up and put them together like the picture below, then sew top and bottom. Make sure to leave ½ – ¾ inch openings on top and bottom of each side for ear loops.
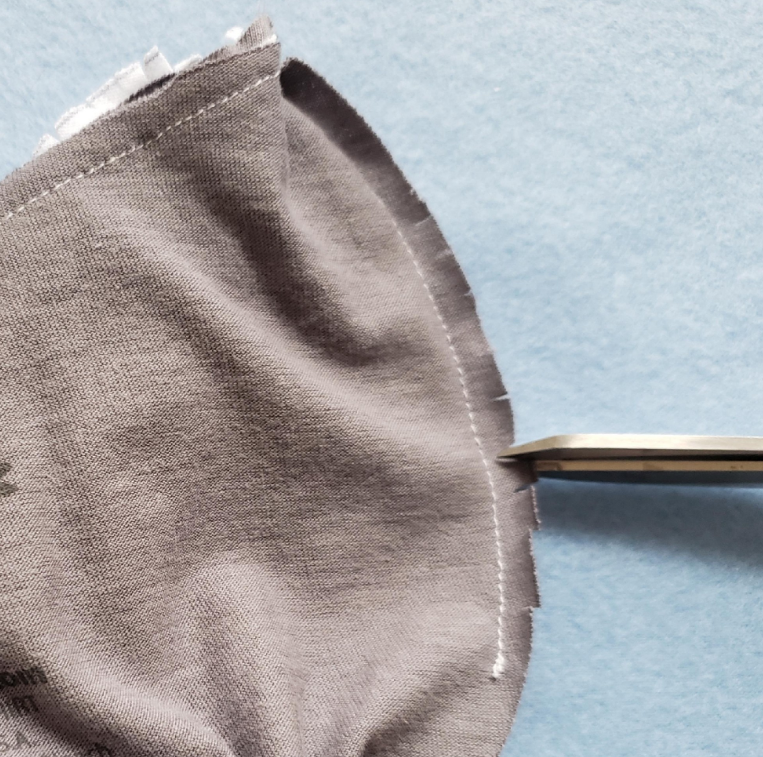
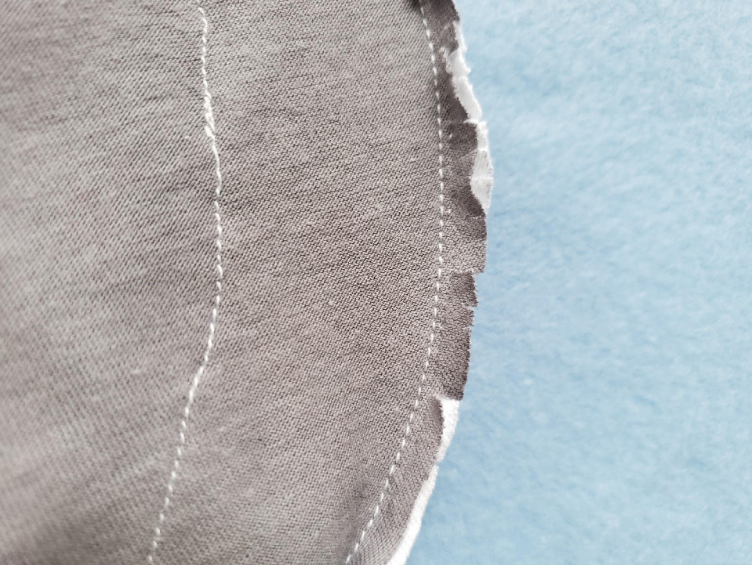
6. Snip around the curve but don’t cut too deep! You don’t want to slice the seam you made.
7. Turn it inside out by pulling the fabric from the opening you made in step 4.

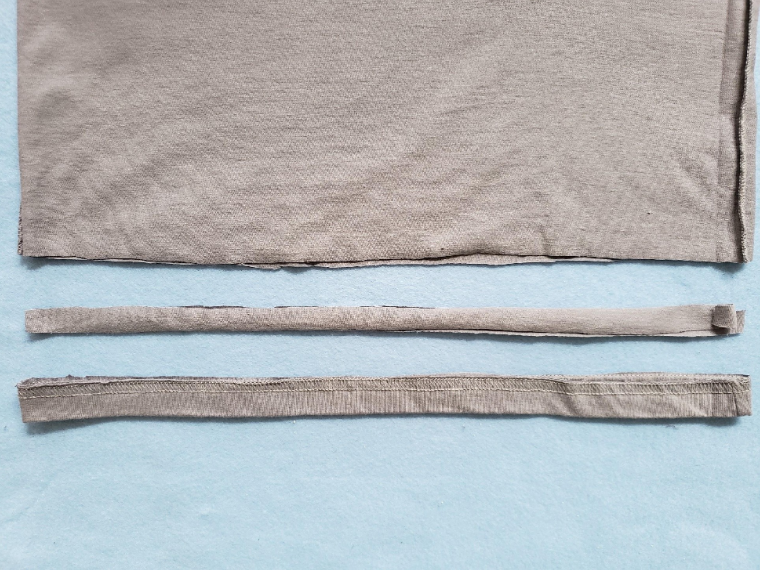
8. Cut a ½ inch strip from one of your t-shirts lengthwise, hold both ends, and stretch it out to make it into a string. Most t-shirts are designed to stretch lengthwise and the fabric will not fray, so go ahead and give it a nice pull.
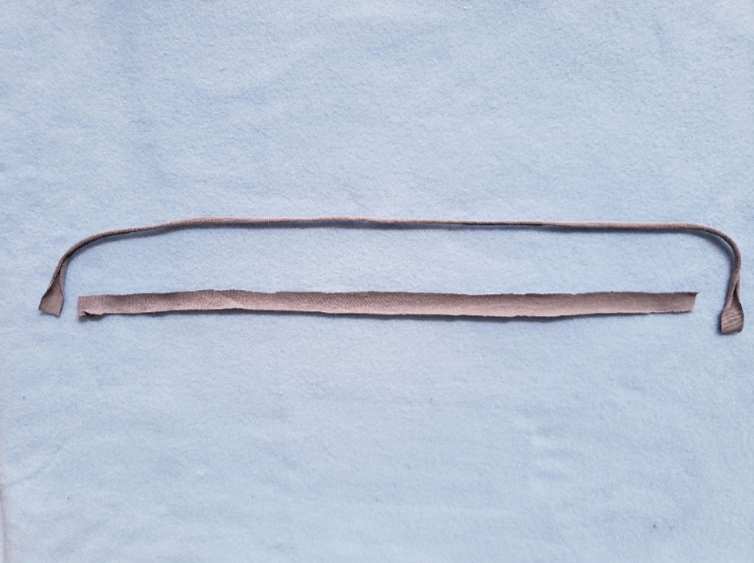
(The top piece is what it should look like after it’s pulled/stretched, while the bottom piece is before it’s pulled/stretched.)
9. Put one of your strings through the opening on the side. I used a bodkin to pull the string through but if you don’t have one, you can use a safety pin.

10. Adjust each ear loop til it’s a size you like, and tie a knot. Cut the excess string, and rotate the loop until the knot is hidden inside the mask.
Repeat steps 9 and 10 for the other side of the mask, and you’re done! Ready to raise some skeletons.

We’ve got one more DIY Castle Crashers mask design coming next week, which will keep you looking… sharp. (That was the worst hint ever, you’ll never guess it from that.) Keep an eye out!